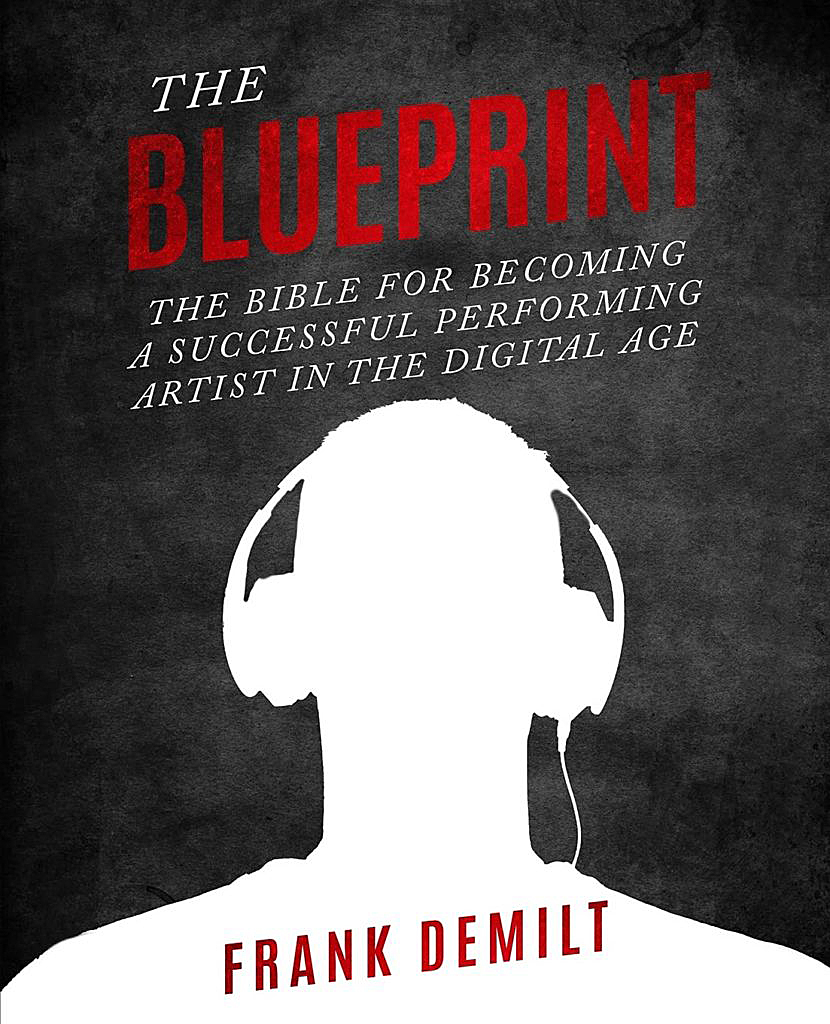
The recording process is arguably the most important step in accellerating your music career. The listener decides within the first bar if they want to continue listening. A song with great sound quality can make the listener continue listening, even if they’re unfamiliar with the artist, whereas bad sound quality can turn the listener off before the song begins. The following article, excerpted from producer-engineer Frank Demilt’s recent book, The Blueprint: A Bible for Becoming a Successful Performing Artist in the Digital Age, will set you on the right path.
Create Your Session
The first step in recording is to create your recording session. Each DAW has a set of pre-made templates for different recording styles. These pre-made templates are constructed by the makers of each DAW and equipped with the necessary tracks and routing for a seamless recording. Creating your own recording template is also an option, but this can be complicated. The issue is the intricacy that goes into creating your own session. You will need “audio tracks” to record each of your vocal takes, “auxiliary tracks” used for controlling multiple tracks at one time, “efx tracks” for your desired vocal efx, and a “master track” to control the overall volume of your session. Ensuring these tracks are set up properly can be difficult, but creating your own session can be beneficial.
Set Your Input Volume
The second step is to set your input volume on your interface so that your audio is not distorting. If the track is at a good level, the meter will be green; if the track is at a slightly high level the meter will be yellow; and if the track is too high, the meter will be red. While visual cues are good, use your ears, they are your best friends in this process.
Set The Volume of the Beat
Lastly, before recording, set the volume of the beat you’re using. DO NOT TURN YOUR VOCALS UP SO YOU CAN HEAR THEM OVER THE BEAT WHEN THE BEAT IS AT 0 DB! This will cause your vocals to distort immediately and will make it impossible to create the proper blend when mixing. A rule of thumb I learned in one of my first internships is turn the beat down to -10db. Using this level mark will create more headroom in your recording, allowing for a better sound quality during the mixing process.
Check Your Vocal Distance
Now think about the distance of the microphone from your mouth, as this will relate to the perceived character of the recording. Being close to the microphone produces a tight, warm, breathy, detailed recording. However, this positioning will also enunciate all the sounds of the mouth and create greater vocal pops and sibilance. On the other hand, standing about 10 to 16 inches from the microphone when recording will produce a more natural, open, and less “in your face” vocal, and it is less likely to suffer from excessive sibilance and more natural room sounds to your recording, which are not always desired. This distance will allow for the least amount of natural room sound, less emphasis on mouth sounds, and create a more even recording. Most people don’t realize how important this step is. Microphone type, combined with position, is 80% of your vocal sound.
Record Voice with efx or Dry?
The last step of the pre-production process is deciding if you want to record with efx on your voice, or if you want to record “dry.” If you record with efx, you have a myriad of plug-in options that allow for digital audio manipulation. If you use plug-ins on your recording track, you will hear a difference in your voice according to what plug-ins you add.
Once the pre-production process is complete, the first vocal you’re going to record is the lead vocal. You want this vocal to be clear, strong, have feeling and be believable. This is the baseline for the rest of your vocal takes. If you’re mumbling, the audience won’t be able to sing along. If your lead lacks feeling, or believability, you won’t keep your listeners’ attention. Your lead vocal is the most important part of your song. A good lead can propel a song to great heights. A bad lead can make a song crash and burn.
Stacks and backing tracks are used to emphasize certain words and phrases throughout the song. For singers using this technique, these will not be in the same tone but rather a harmony note. Generally, for the hook there will be at least two stacks of the lead vocal panned hard left and right to create a surrounding effect, giving the impression of a wider vocal. Not every song needs this technique; you will have to make this decision depending on the style of the song.
Vocal Harmonies
Whether you are a rapper, a singer, or somewhere in between, harmonies and background vocals are an essential part of the song. These vocals emphasize and support your lead, giving the listener different vocal tones that change their listening experience throughout the song. In the simplest style of vocal harmony, the main vocal melody is supported by a single backup vocal line, either at a pitch that’s above or below the main vocal line. In more complex vocal harmony arrangements, different backup singers may sing two or three other notes at the same time as each of the main melody notes, mostly with consonant thirds, sixths, and fifths.
As a singer when recording these harmony notes, you will want to stack or double each harmony note, so when it’s time to mix the song, you can pan each note hard left and right to create a bigger and wider sounding vocal mix. Harmonies are not used on every line, and in most cases the number of harmonies grows as the song builds.
A basic rule to follow is to use harmonies sparingly in the first verse, add a few more harmonies in the first, possibly add more harmonies in verse two, build on the harmony structure from the first hook in the second hook, have a few harmonies in the bridge, and finally end with the final hook having a full assortment of harmonies.
Your last type of vocals are ad-libs. Singers will use vocal runs like “ohs and ahs,” or humming as their ad-libs throughout the song. Sometimes ad-libs won’t appear until the end of the song to create a vocal climax by adding another vocal layer before the song ends. In most R&B songs you will hear the singer add what sounds like another lead vocal track to the last hook and outro, singing different lines than the lead vocal or echoing the lead vocal. This is where the singer can show off their vocal range and ability.
Pitch Correction
If pitch is a problem in your recording, you can use Antares Auto-Tune or a similar pitch correction plug-in to automatically force the vocal pitch to the nearest note or semitone. The first song to use Auto-Tune was Cher’s “Believe.” It happened on the phrase “I can’t break through.” This effect reappeared in the next verse, on the phrase “So sad that you’re leaving.” This pitch correction technology was created so a singer’s notes and pitch could be placed exactly where they need to be and not sound irregular to the listeners’ ear.
Nowadays, the technology has become a sound of its own. Artists today are using the technology to hide their singing abilities, and as an effect to create a more melodic sounding vocal performance. Beginning with T-Pain, who has been on record saying that he first began using Auto-Tune to manipulate his voice to use it more as an instrument and bend his voice in unnatural ways, Auto-Tune has become popularized in the music industry in a different way than it was intended.
Once all the vocals are recorded and pitch-corrected, you can begin to clean up the vocals before proceeding to post-production. This “rough mix” is constructed to give the mixing engineer an idea of the final sound you’re going for.
For the experienced artist, the recording process is far more intricate than what has been mentioned above. The more experienced recording artist should set their focus on details rather than the broad strokes.
Speak Coherently to the Engineer
As an experienced artist you are more than likely working with an engineer during your recording sessions. While this is great, you should know what is going on during the recording process. Knowing this process will allow you to speak coherently to the engineer. Nothing causes a misunderstanding between an artist and the engineer faster than the artist asking for something and the engineer not understanding.
Be Prepared
The artist should be prepared when going to the studio. First, have a reference track of what you would like your track to sound like. Second, have a basic understanding of technical music language to assist in speaking with your engineer. Third, understand the recording process, being in a music studio with an engineer is different from your bedroom. There are protocols that come with working in a studio; following these protocols can ensure a better session. Finally, vibe and energy are a thing. Just as you, the artist, like to have a specific vibe when recording, an engineer is the same. It is just as much the role of the artist to make the engineer feel comfortable as it is the engineer’s job to make the artist feel comfortable.
Abide by the rules!
Each studio has its own set of rules that must be abided not only by the artists who are booking time but by the staff as well. While most studios will give you a run-down of these rules prior to booking, it is always better to ask. Will an engineer be provided? Can you smoke in the studio? Can we add more time if needed? Is mixing included? Asking these questions allows you to have the right mindset going into the session. Some artists would prefer working with their own engineer, for chemistry reasons. Most studios will allow you to do this, but will provide an on-staff engineer if any problems occur. A lot of artists like to smoke during recording, but not all studios will allow this, as smoke negatively affects the studio equipment and thus can cause you fines for smoking in the room.
Full mixing is usually not included in recording sessions, and while you will leave with a rough mix and your session files, you will have to book a separate mixing session. Lastly, remember that time is an issue. If you only book two hours, you only have two hours. Studios are a business. Just because you only recorded half a verse has no effect on the studio. USE YOUR TIME WISELY!
Creating the right energy in the studio is arguably one of the most important aspects when going into studio sessions. Each artist is different, they have different likes, needs, and wants when recording. Creating this energy can be the difference in creating your next hit single and sitting at the studio desk with writer’s block. You may think the energy is easy to create by manipulating the vibe in the room, but it goes far deeper than that. You must create the right energy with your engineer. While the hardest part may be the technical language barrier, the easiest part is respecting the engineer. It is his or her job to get the best sound possible, and this becomes infinitely easier if the artist is working with the engineer rather than talking at them. Ask the engineer for help, ask for their opinion, tell the engineer what you’re looking for and how you like to work. All of this is extremely helpful and helps the engineer better assist you in creating the best product.
And finally…
Recording is an excruciating process. It can be tedious. It can be frustrating. It can be difficult. But it can also be exhilarating. It can be euphoric. It can be relaxing and calming. It all depends how you approach your session. Go in with the right headspace and with the right understanding and you will create the best possible product. Go in with an ignorant mindset and there is a chance you will have nothing usable from the session. If you were able to create anything. •
FRANK DEMILT (@frankademilt) is a veteran of the music industry. Since 2013, Demilt has worked in some of the top music studios in New York City, New Jersey, Miami, and Atlanta alongside the industry’s top Grammy- and Emmy-winning and -nominated artists. Beginning as an engineer at Soul Asylum Studios in Atlanta, he has since worked in various sectors of the music business. Recently, Demilt was named head of Artist Development, Sync Manager, and lead A&R at Water Music Publishing. He’s also helped launch the creative agency Sloppy Vinyl, a premier artist development and entertainment company in New Jersey. His recent book can be purchased at The Blueprint: The Bible For Becoming a Successful Performing Artist in the Digital Age (Amazon).
